Looking to protect your cryptocurrency investments with a Ledger hardware wallet? You’re in the right place.
In this expert guide, we’ll walk you through every critical step — from unboxing your Ledger Nano to securing your recovery seed — so you can safely manage your crypto assets with confidence.
Step 1: Unbox and Verify Your Ledger Wallet
Before anything else, inspect the package upon arrival. Ledger devices like the Nano S Plus or Nano X are shipped in tamper-evident boxes. Make sure there are no signs of damage, resealing, or unusual wear.
What to check:
- The device should be sealed and pristine.
- There should be no recovery phrase or PIN included in the box. Ledger never provides these — they are generated during setup only.
- If anything looks suspicious, stop immediately and contact Ledger Support.
📷 Tip: Take a photo of your unboxing for your records — especially useful if you ever need proof of authenticity.

Step 2: Power Up and Set Your PIN
Once verified, it’s time to activate the device:
- Connect the Ledger to your computer or smartphone using the provided cable.
- On-screen instructions will appear — select “Set up as new device.”
- Next, you’ll be asked to create a custom PIN code (4–8 digits). Use the physical buttons on the device to choose and confirm your PIN.
Never share your PIN. Treat it like your ATM code — confidential and secure.

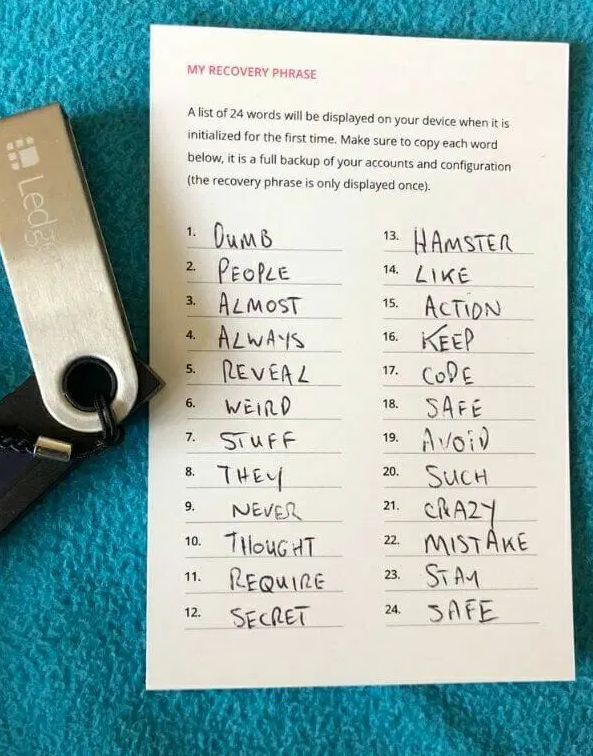
Step 3: Write Down Your 24-Word Recovery Phrase
After your PIN is set, the Ledger will display a 24-word recovery phrase, also known as your seed phrase. This is the most important part of securing your crypto.
Here’s how to handle it:
- Carefully write down all 24 words in exact order using the provided Recovery Sheet.
- Double-check for spelling or number order mistakes. Even one incorrect word can make your funds unrecoverable.
- Store the seed phrase offline — ideally in a fireproof safe or on a metal backup plate.
⚠️ Never take a photo or store it digitally — that’s the fastest way to get hacked.
Step 4: Download and Install Ledger Live
Your Ledger needs software to interact with the blockchain — and that’s where Ledger Live comes in.
- Head to ledger.com/ledger-live and download the app for your OS (Windows, macOS, Linux, iOS, or Android).
- Install and open the app. Follow the prompts to connect your device.
Make sure your operating system is up to date before installing for optimal performance and security.
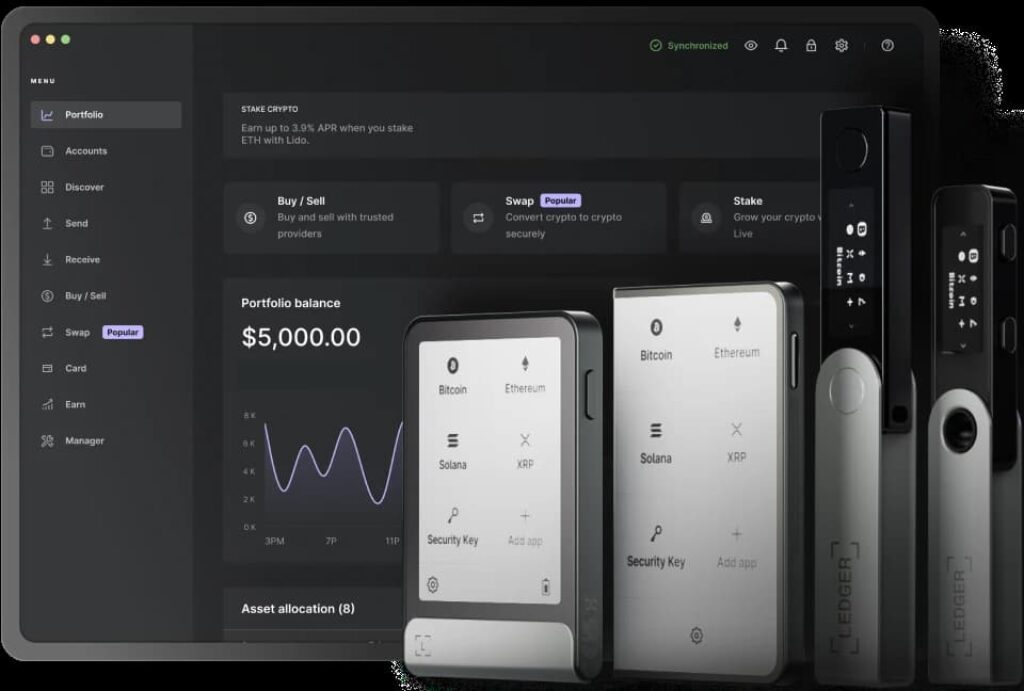
Step 5: Add Crypto Accounts via Ledger Live
With the Ledger Live dashboard open and your device connected, you’re ready to add specific crypto wallets:
- Select “Accounts” → “Add Account.”
- Choose the coin you want to manage (e.g., Bitcoin, Ethereum).
- Ledger Live will ask you to install the matching app onto your Ledger device. Confirm using the device buttons.
Once synced, your wallet address appears. Now you can send, receive, and monitor your crypto securely.
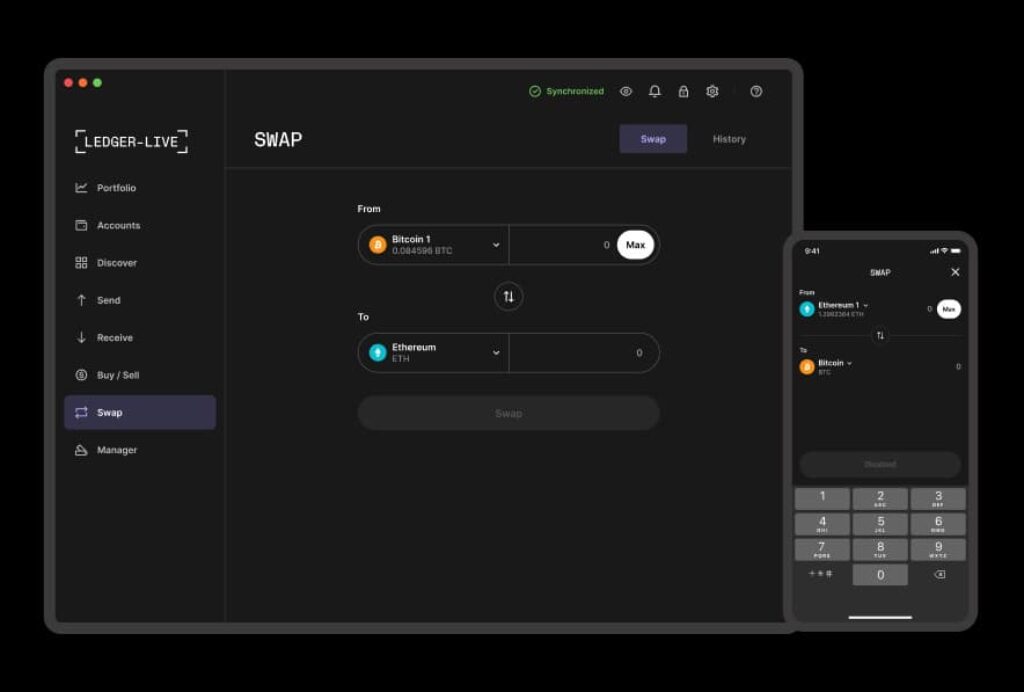
Step 6: Test with a Small Transaction
Before going all-in, test your setup:
- Copy your wallet address from Ledger Live.
- Transfer a small amount of crypto (like $5 worth of BTC) from an exchange or another wallet.
- Verify the transaction appears in Ledger Live and on your device.
This confirms that your setup is functional and properly secured.
Pro Security Tips (from a Cold Wallet Expert)
- Regular Firmware Updates: Check for updates via Ledger Live to keep your device protected with the latest patches.
- Offline Is Key: Never store your seed phrase on cloud drives, notepads, or phones.
- Check Everything Twice: From writing down your seed phrase to entering your PIN — slow down and do it right.
Final Thoughts: Take Control of Your Crypto Security
Setting up your Ledger wallet might take 20–30 minutes, but it’s time well spent. In return, you gain complete control and unmatched security over your digital assets — away from the risks of online wallets and exchanges.
For extra tutorials or troubleshooting help, visit the Ledger Official Support Center.
Stay safe — and enjoy the peace of mind that only a cold wallet can bring.
